

How to Generate an SSL Certificate for Your Website on YorkHost (Let's Encrypt)
If you're unsure, you can follow the tutorial above: "How to configure a domain name on a web server?"
🔐 SSL Certificate on a Plesk Web Server (Let's Encrypt)
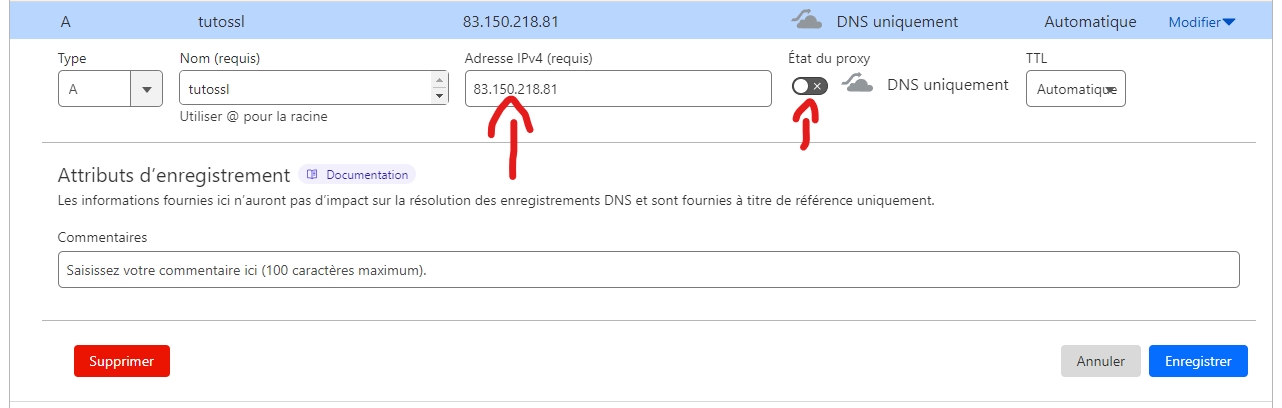
First, go to the domain name management panel. In this tutorial, we’ll be using Cloudflare.
Check that the A / AAAA DNS record points to the correct IP — in our case: 83.150.218.81.
Also verify that the proxy is disabled (⚠️ note: some domain registrars do not offer proxying options — if that’s your case, you don’t need to worry about disabling it).
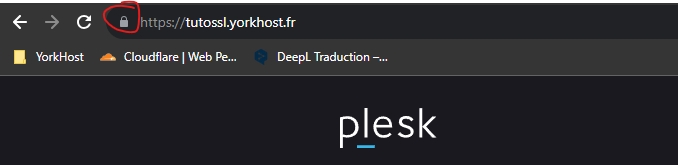
For this tutorial, we’re using a subdomain of yorkhost.fr, namely tutossl.yorkhost.fr.
In your case, you should enter the domain or subdomain you want to secure when asked.
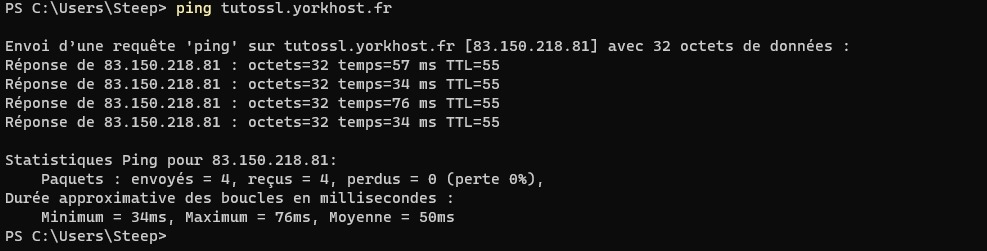
Once that’s done, you can test the configuration by running a ping to the domain from your command prompt (CMD).
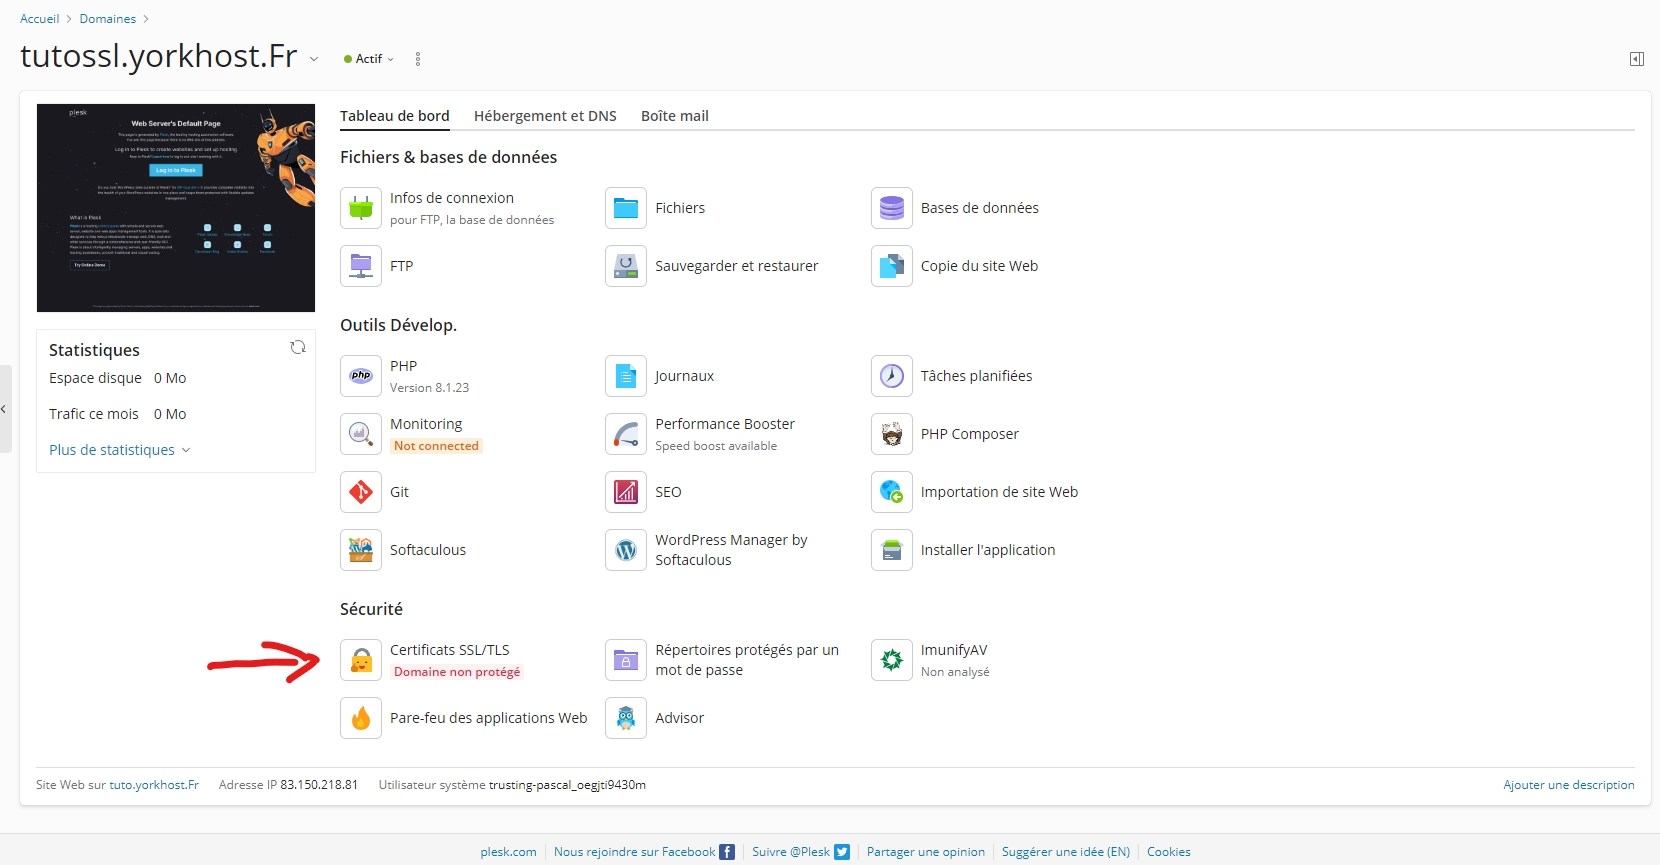
Now that we’ve confirmed the domain is correctly pointing to the right IP, we’ll head over to the Plesk panel. Once you’re logged in using the credentials you received by email for your web hosting service, click on the domain you want to secure. Then, click on “SSL/TLS Certificates”.
After accessing the SSL/TLS Certificates page, scroll down and click on Install.

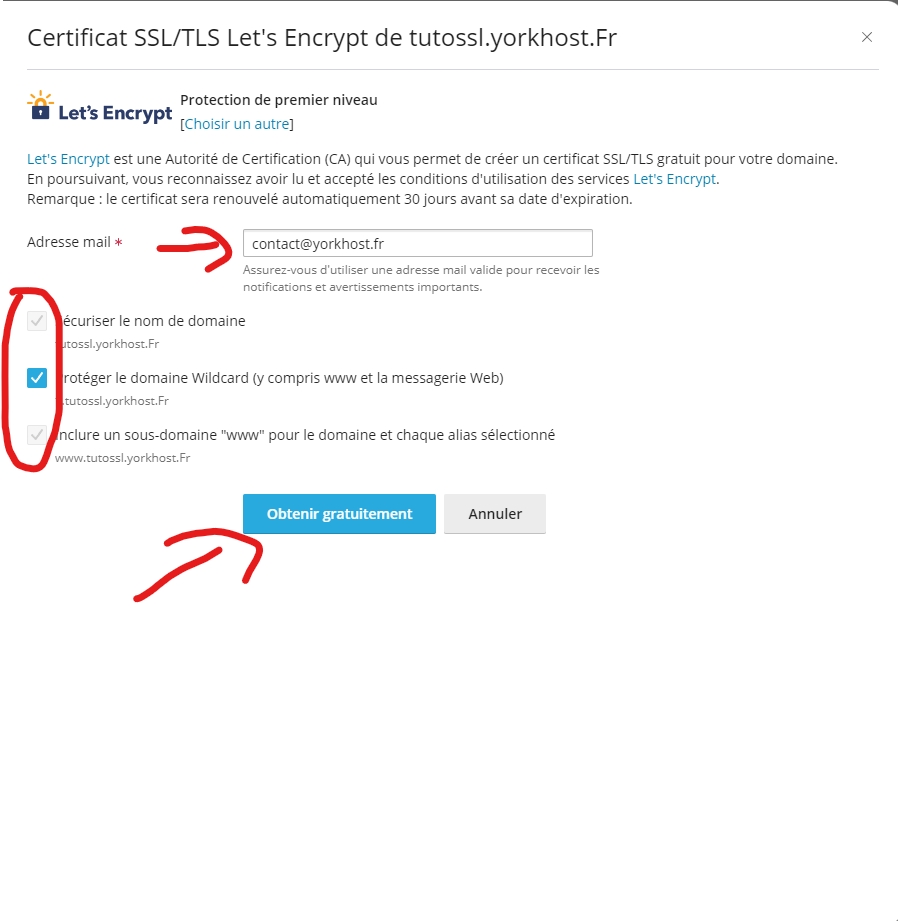
You need to check all the boxes, enter your email address, and then click on “Get it free”, just like in this screenshot.
Once the loading is complete, you will see this page.
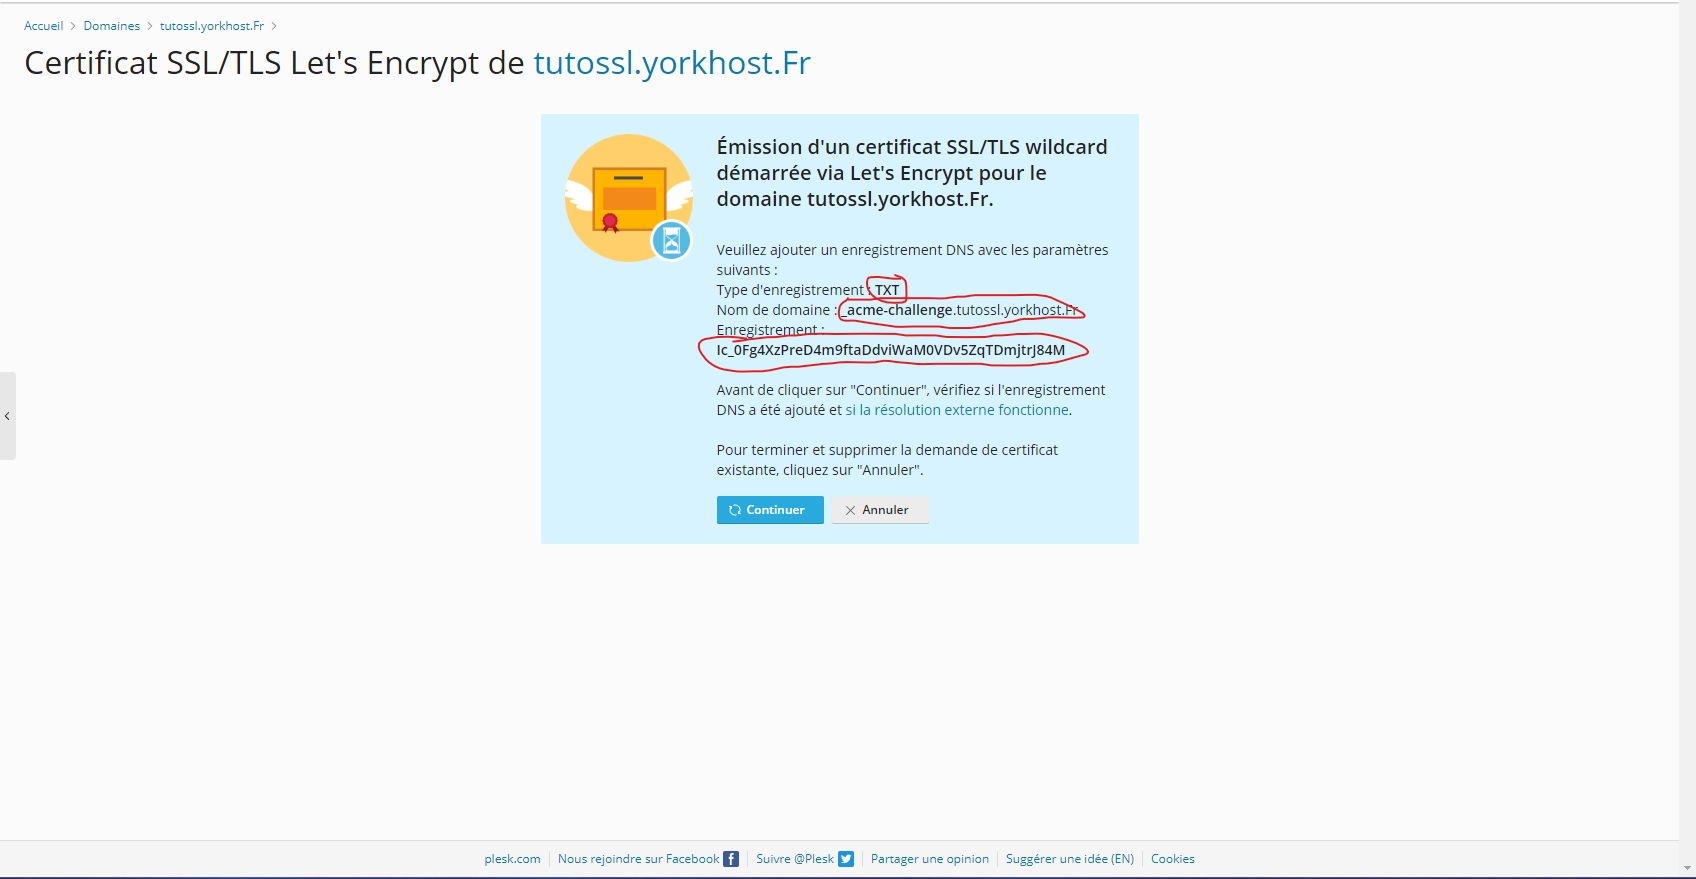
As indicated on the page, you need to create a TXT record to verify domain ownership. Now, go to your domain management panel and create the required TXT record.
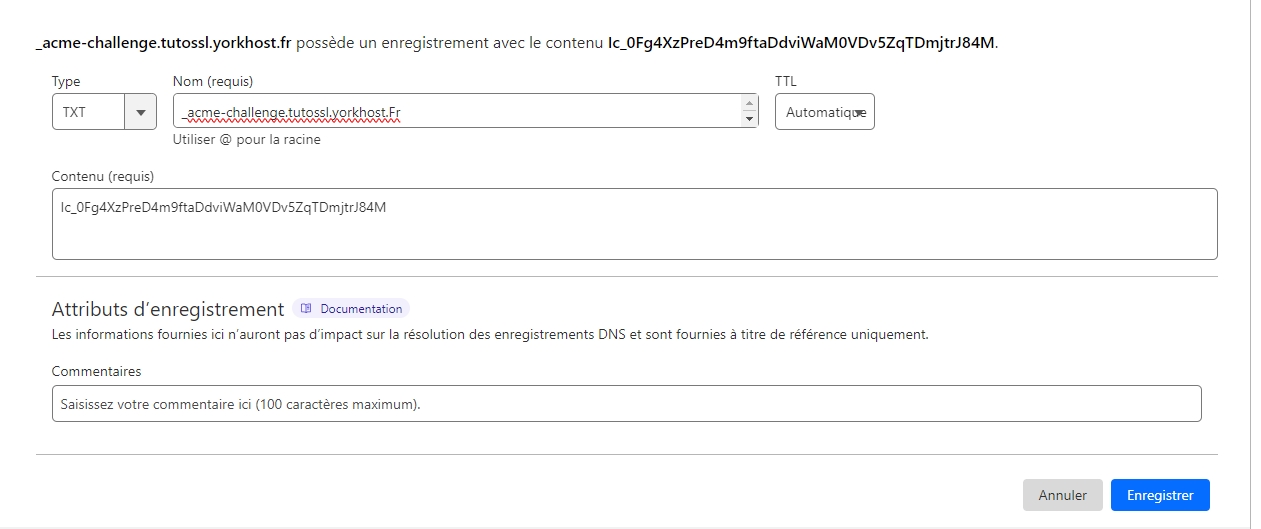
In the Name field, enter:
(the value provided by Plesk, usually something like _acme-challenge.yourdomain.com) ![]()
In the Content field, enter:
(the token or code provided by Plesk)
![]()
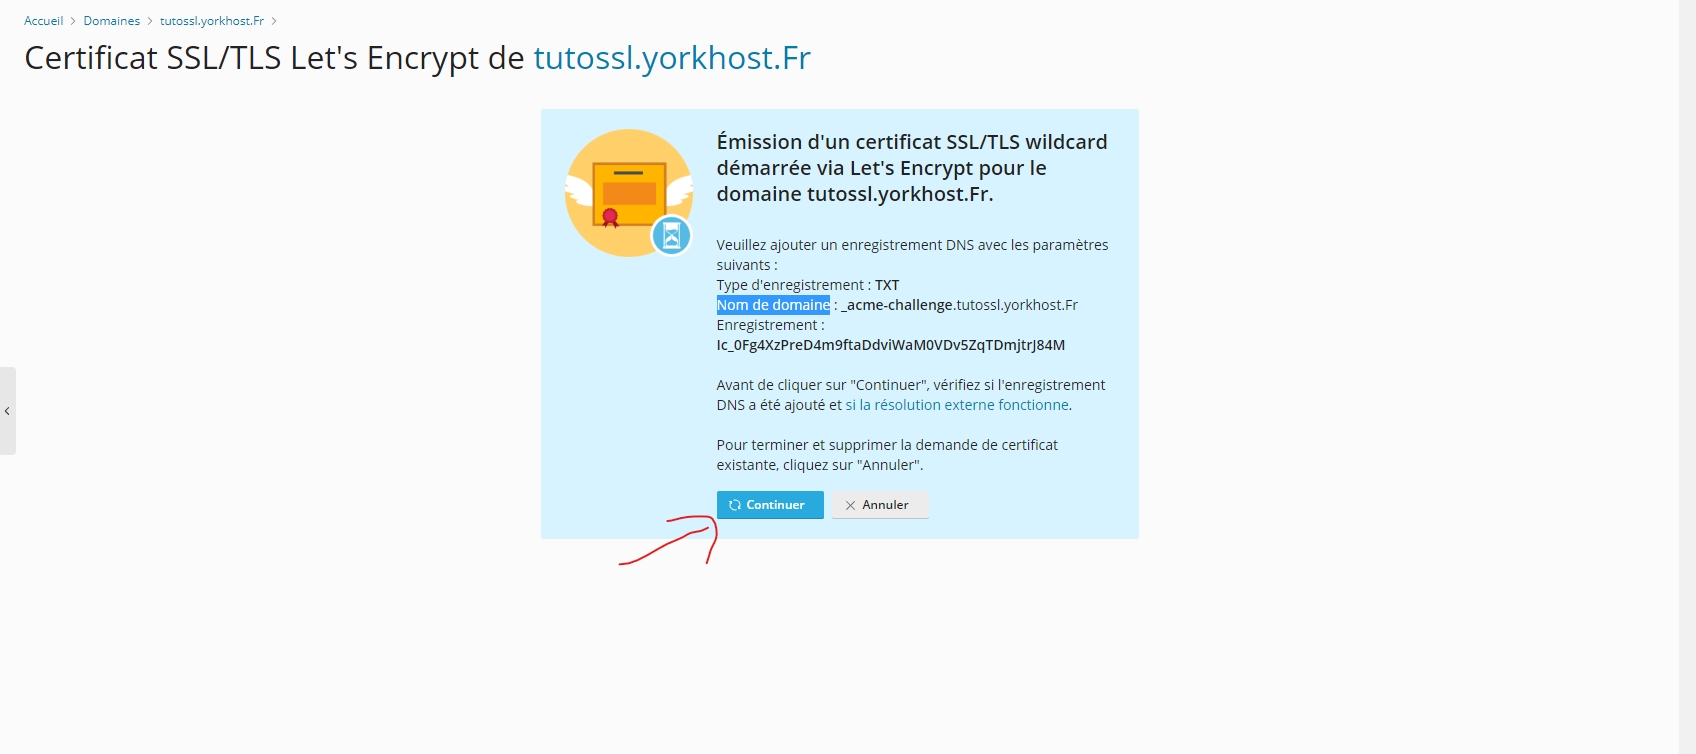
Once the TXT record has been created, return to Plesk and click on "Continue".
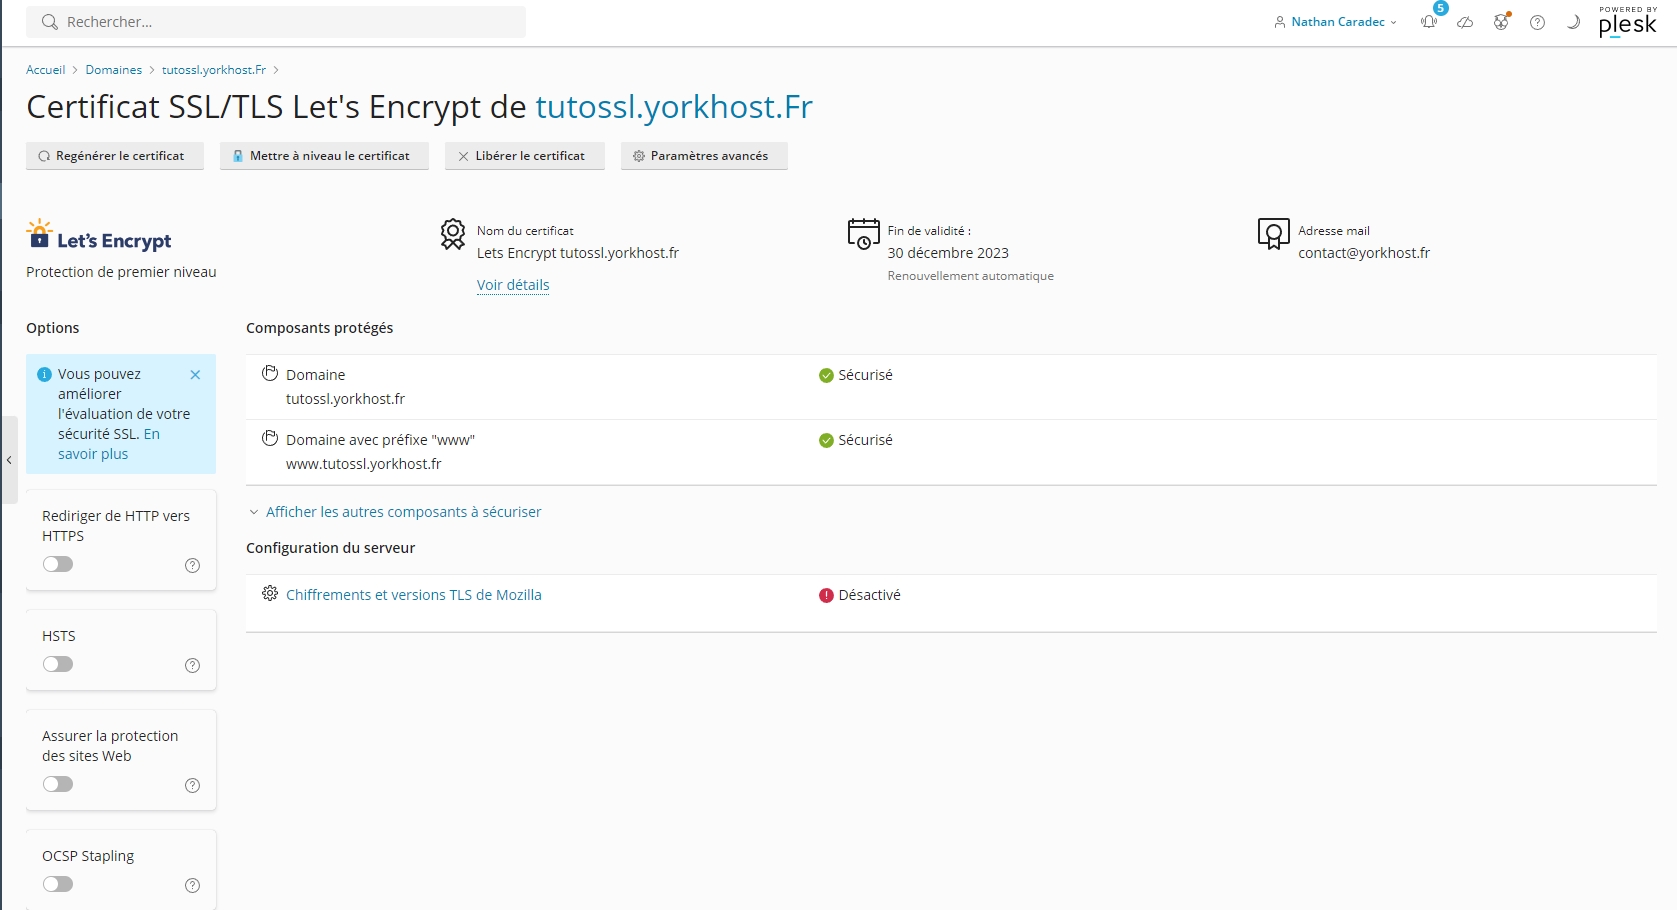
And that’s it — your website is now secured with an SSL certificate! ✅
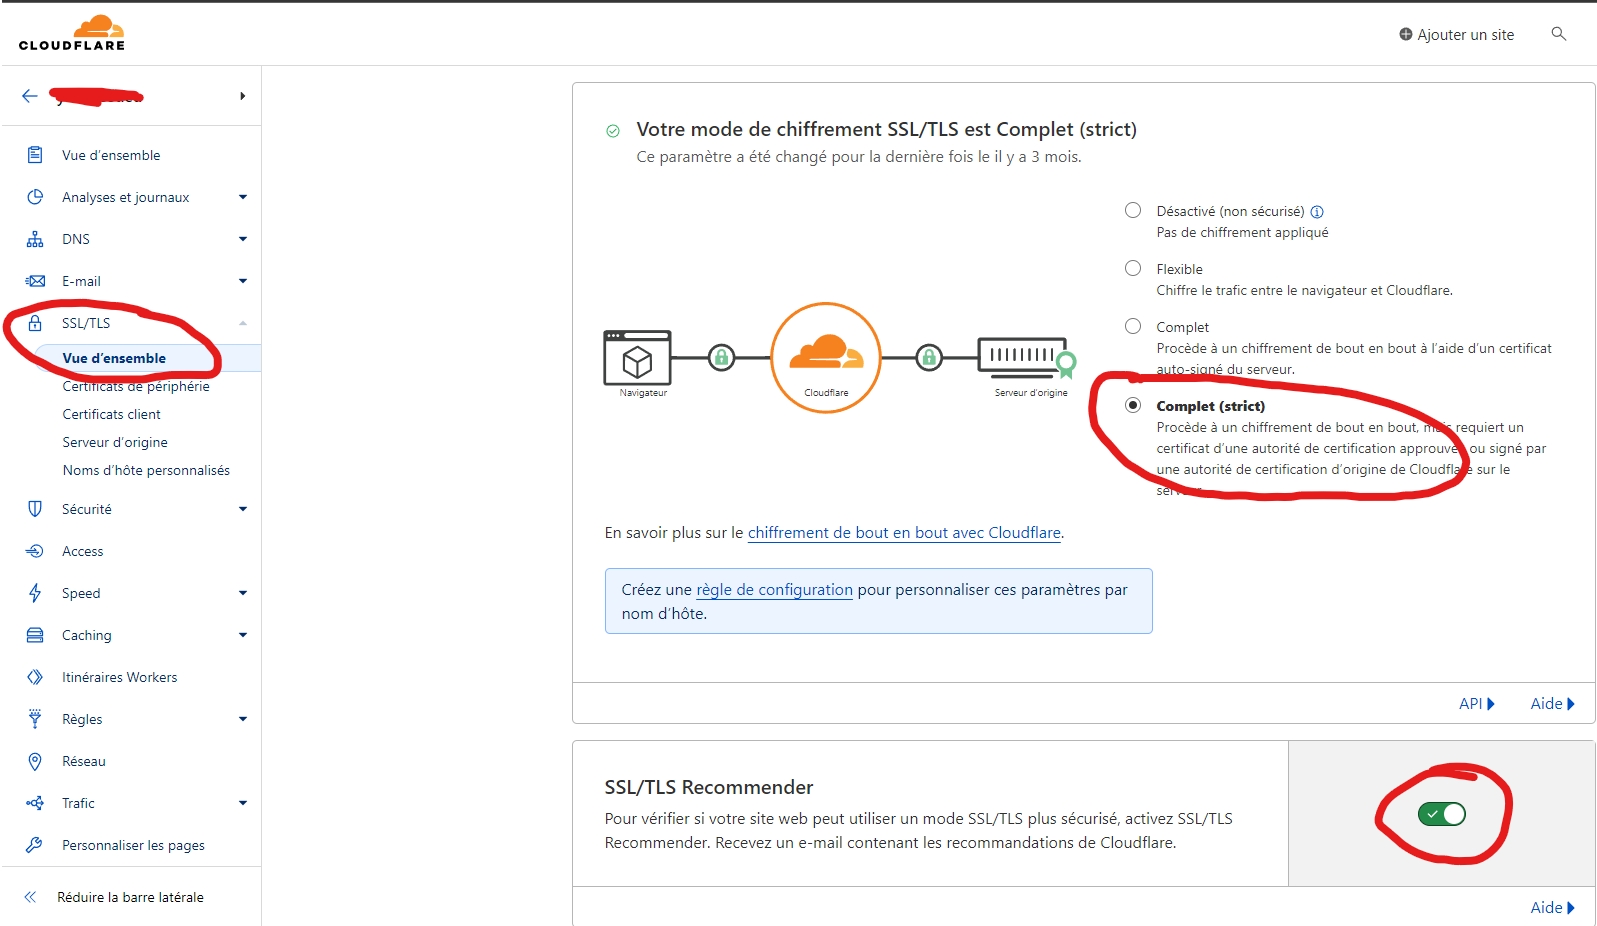
✅ Recommended Cloudflare SSL Settings:
Recommended Cloudflare SSL Settings:SSL/TLS Mode: Go to theSSL/TLSsection in Cloudflare and set the mode toFull (strict).Always Use HTTPS: In the “Edge Certificates” tab, enable“Always Use HTTPS”.Automatic HTTPS Rewrites: Still in “Edge Certificates”, enable“Automatic HTTPS Rewrites”.Proxy status(orange cloud ☁️):Once your SSL certificate is installed on Plesk, you canre-enable the Cloudflare proxy(orange cloud) on your A / AAAA records.This hides your server IP and keeps your site protected via Cloudflare.
Here is the complete guide in English to generate a Let's Encrypt SSL certificate on a Linux server using the CLI with Apache2 or Nginx, via Certbot:
🔐 Install an SSL Certificate (Let's Encrypt) on a Linux Web Server (Apache2 or Nginx – CLI)
✅ Requirements:
A working Apache2 or Nginx server
A domain name correctly pointed to your server’s IP (A / AAAA records)
SSH access with root or sudo privileges
🧩 Step 1 – Install Certbot
➤ On Debian / Ubuntu:
sudo apt update
sudo apt install certbot python3-certbot-apache  # For Apache
# OR
sudo apt install certbot python3-certbot-nginx   # For Nginx
➤ On CentOS / AlmaLinux / RHEL:
sudo dnf install epel-release
sudo dnf install certbot python3-certbot-apache  # For Apache
# OR
sudo dnf install certbot python3-certbot-nginx   # For Nginx
🧩 Step 2 – Generate the SSL Certificate
▶ For Apache:
sudo certbot --apache▶ For Nginx:
sudo certbot --nginxCertbot will auto-detect the domain(s) configured on your server and ask which ones you want to secure.
🧩 Step 3 – Follow Certbot Prompts
Choose the domain(s) to secure
Accept the Let's Encrypt Terms of Service
Optionally redirect HTTP to HTTPS (recommended)
🧩 Step 4 – Set Up Automatic Renewal (Optional but recommended)
To renew your SSL certificates automatically, create a daily cron job:
sudo crontab -eAdd this line:
0 3 * * * /usr/bin/certbot renew --quiet✅ Done!
Your website is now secured with SSL / HTTPS via Let's Encrypt. You can test the result here: https://www.ssllabs.com/ssltest/
Mis à jour