

How to Configure a Domain Name on a YorkHost Web Server ✅
🌐 Connecting Your Domain to a Web Server
If you purchased your domain from YorkHost, we can configure it for you — simply open a support ticket, and we’ll take care of it.
However, if your domain was purchased elsewhere, here’s how to manually connect it to a web server — for example, to use it with our Web Hosting or Reseller Hosting offers.
📝 Note: We recommend using Cloudflare (or any other CDN) to manage your domain. If your domain is not yet on Cloudflare, you just need to update your nameservers at your registrar. If you bought the domain via YorkHost, you most likely already have Cloudflare access — so no additional setup is needed.
🛠️ Step-by-Step Guide
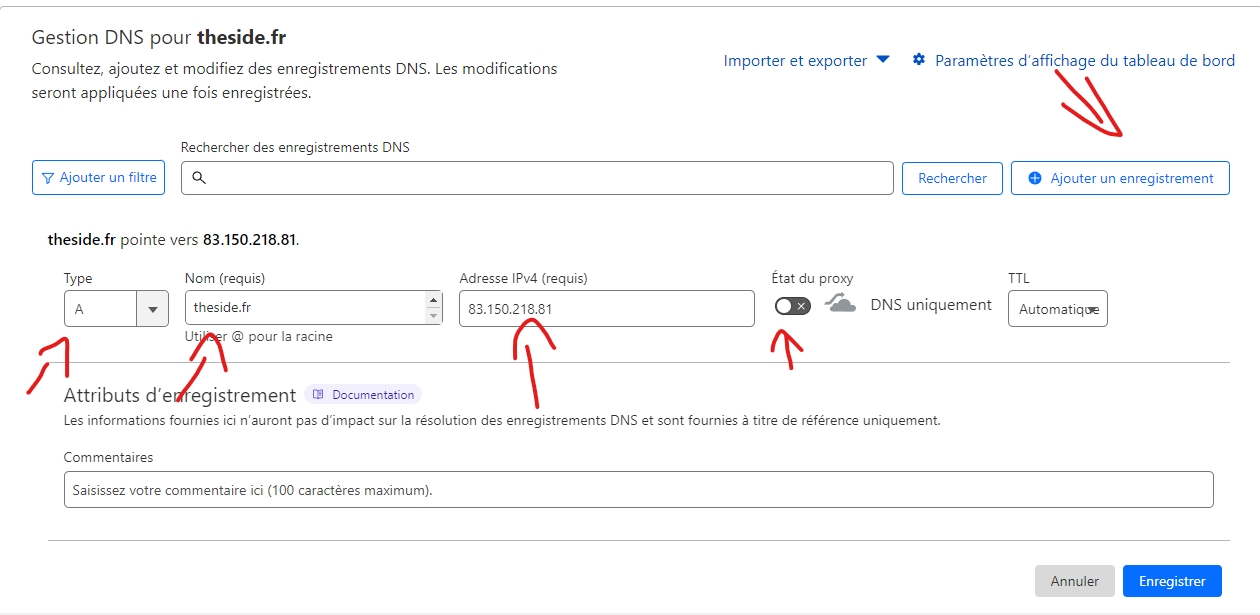
1. Add a DNS Record
Go to your Cloudflare dashboard and click on “Add Record”.
2. Select Record Type
Set the Type to A.
3. Set the Name
In the Name field:
If you're connecting a root domain (e.g.,
theside.fr), enter the full domain.If you're creating a subdomain (e.g.,
subdomain.theside.fr), enter that instead.
4. Set the IPv4 Address
In the IPv4 Address field, enter the IP address of your web server. For example, if using the YorkHost Plesk server, enter:
83.150.218.35 5. (Optional) Add an IPv6 Record
To add IPv6, create another record:
Type:
AAAAIPv6 Address: your server’s IPv6
You can have both A (IPv4) and AAAA (IPv6) records for the same domain.
6. Disable Proxy (Cloudflare only)
If you're using Cloudflare, make sure to disable the proxy status (gray cloud ☁️) when first connecting your domain. This is necessary to issue an SSL certificate correctly.
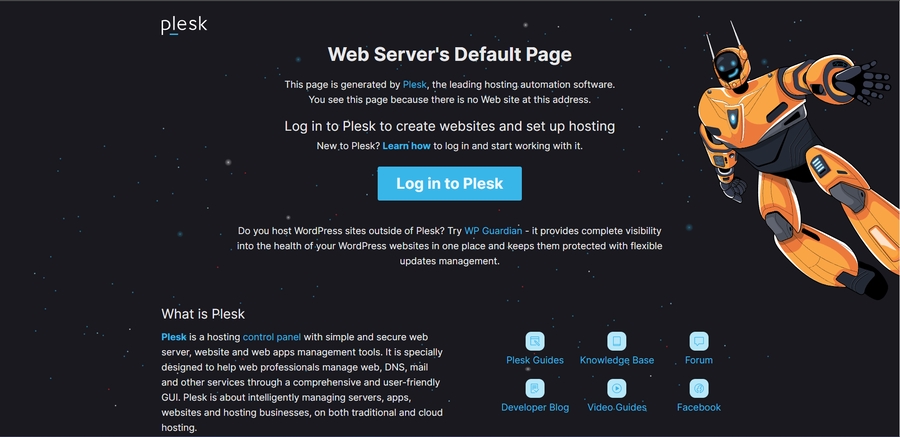
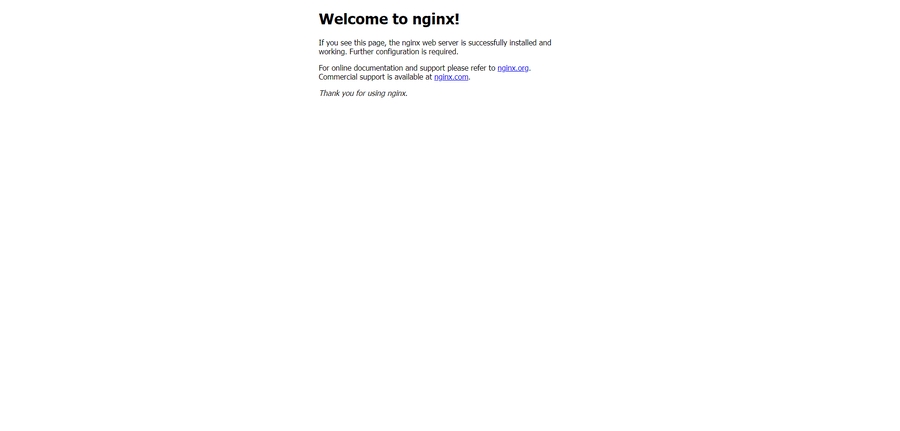
You should now see your default web server page!
Mis à jour